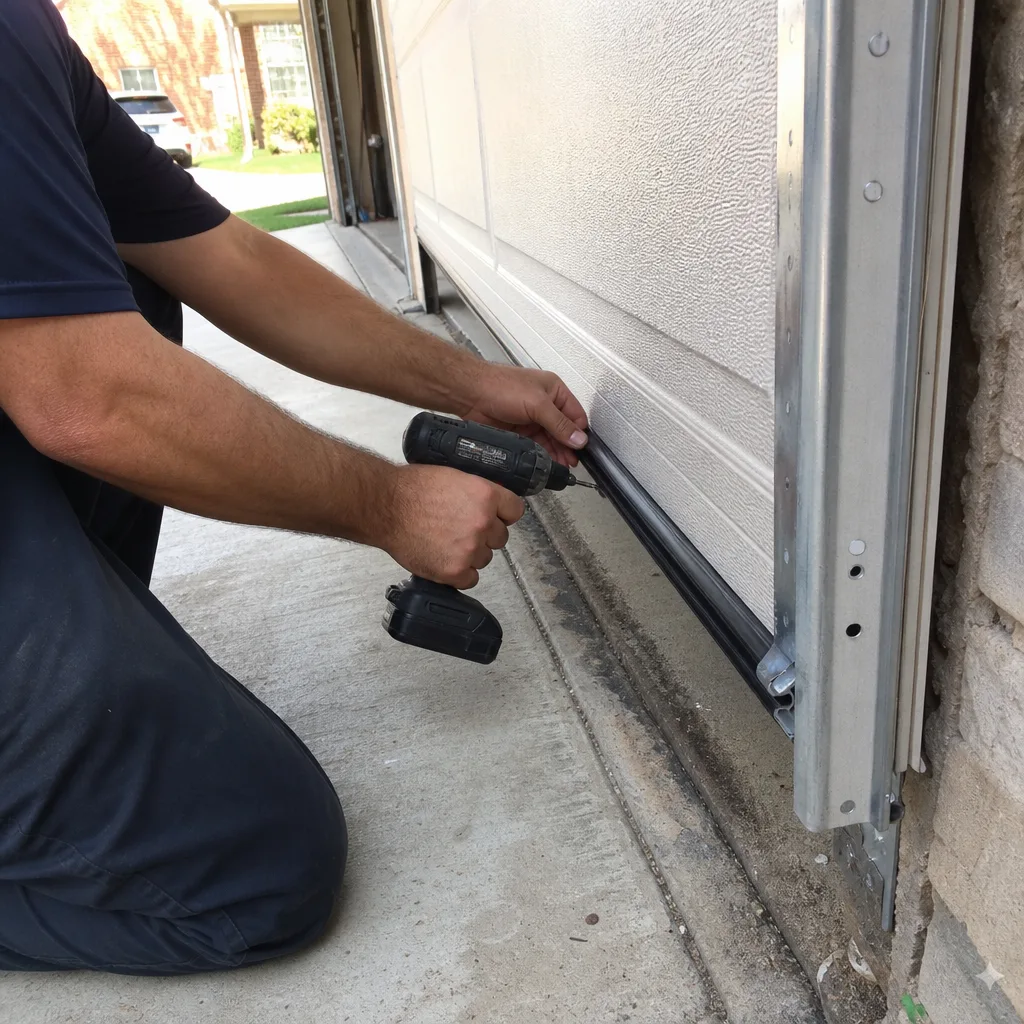
Last updated November 21, 2026
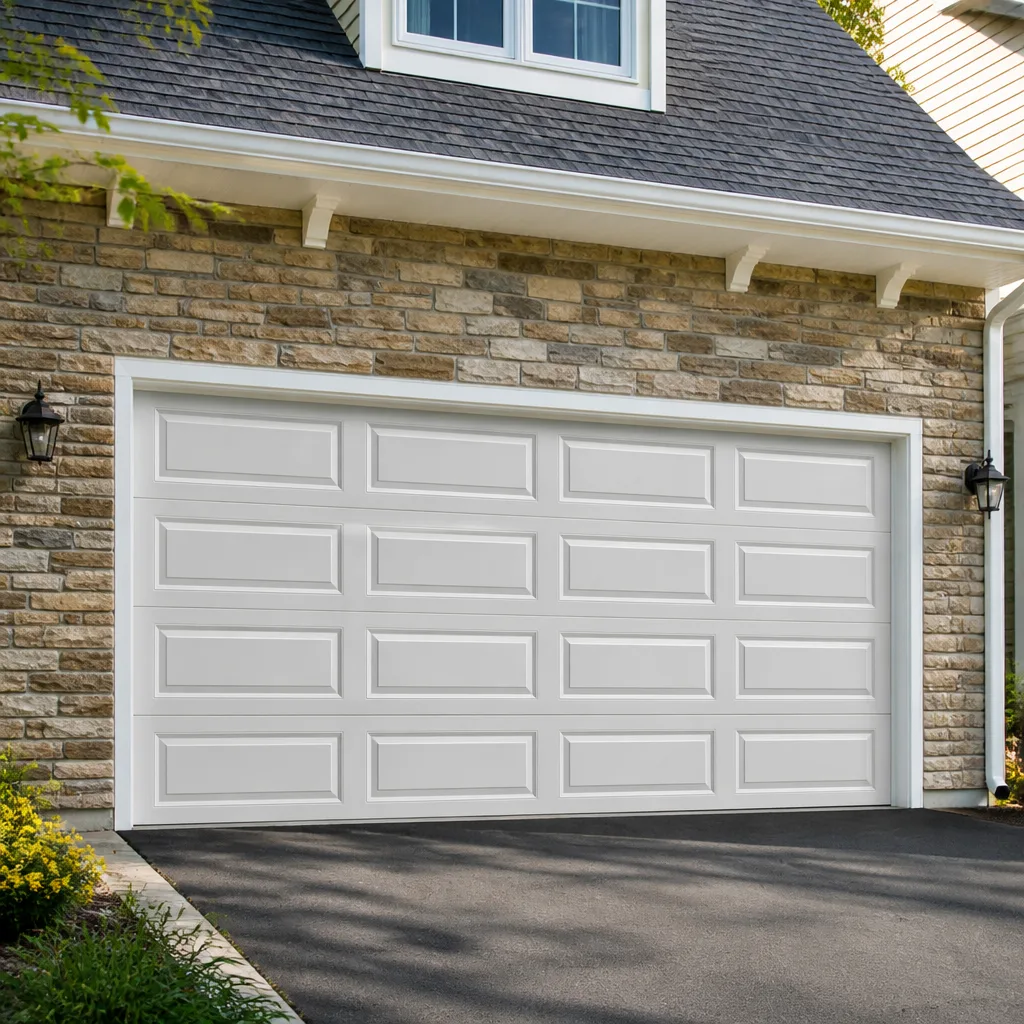 Raised-panel steel
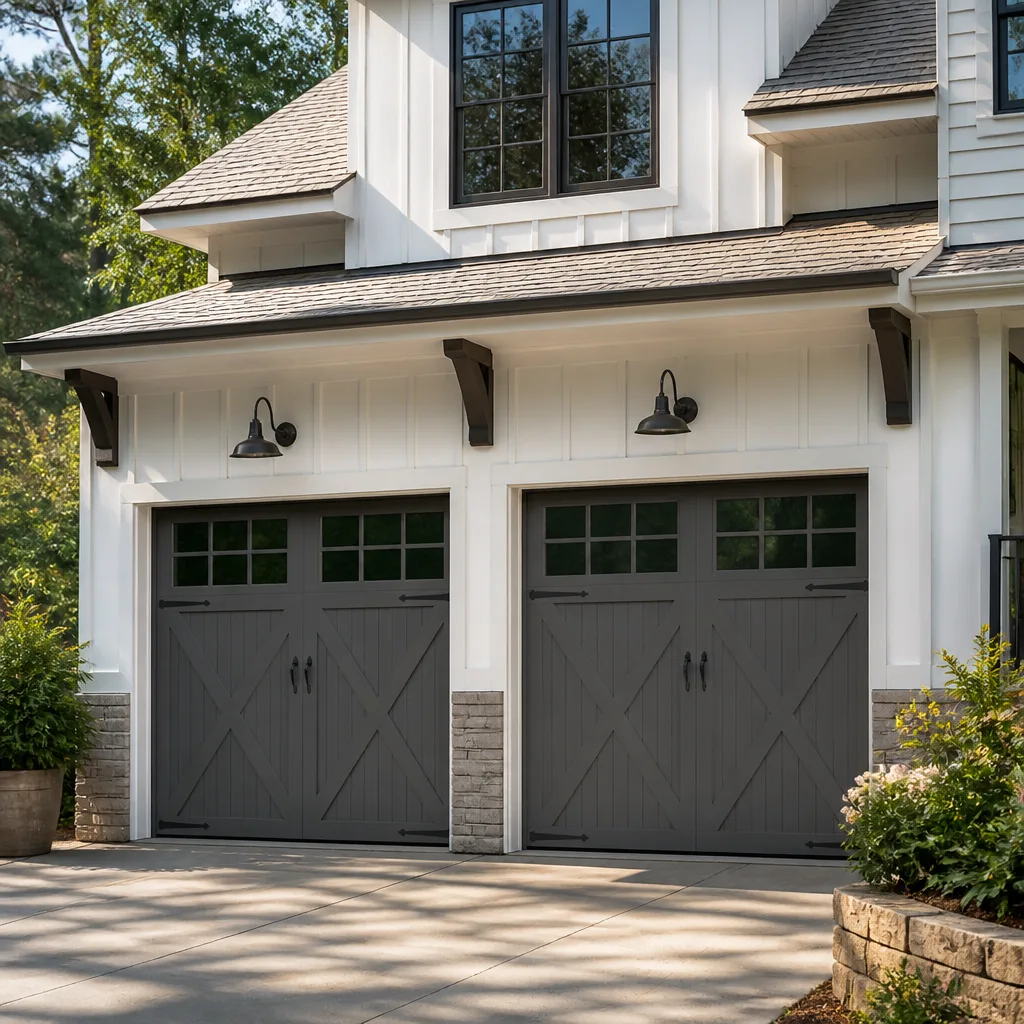 Carriage house
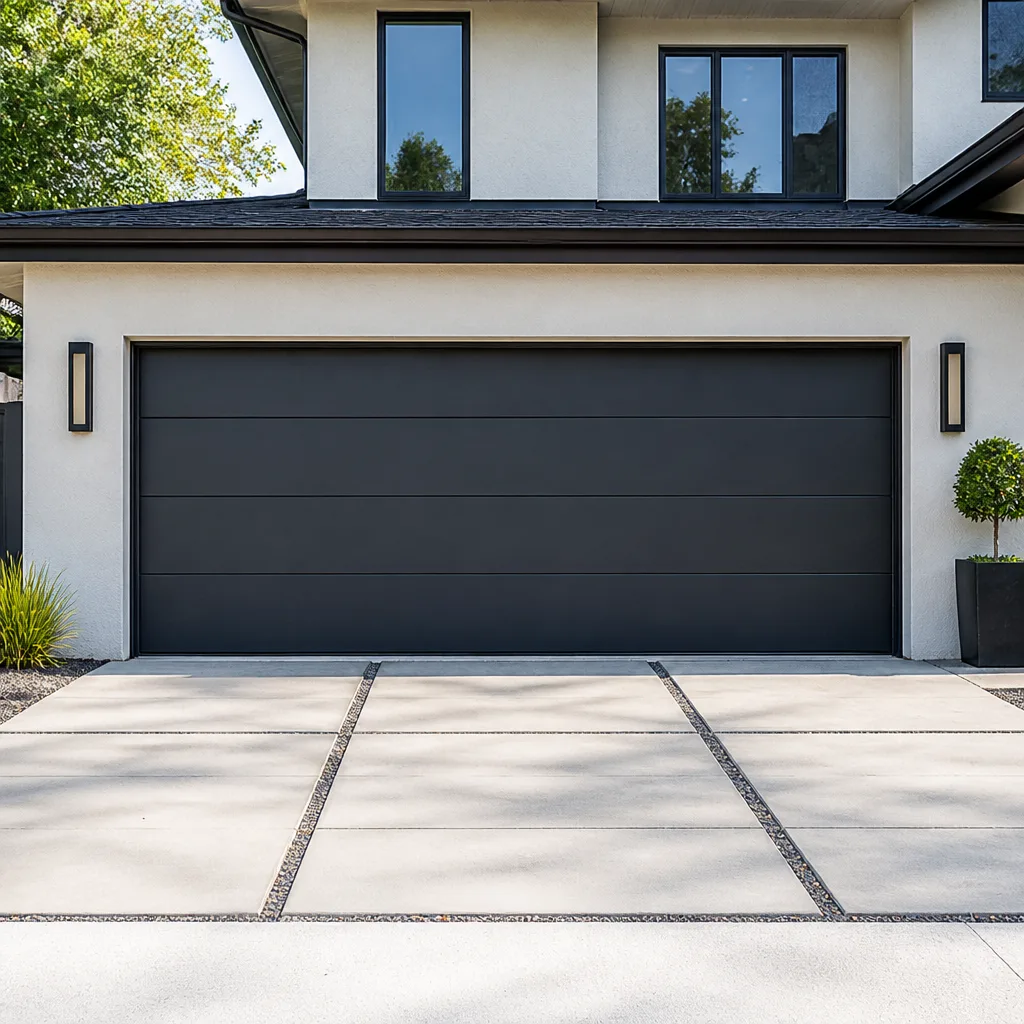 Modern flush
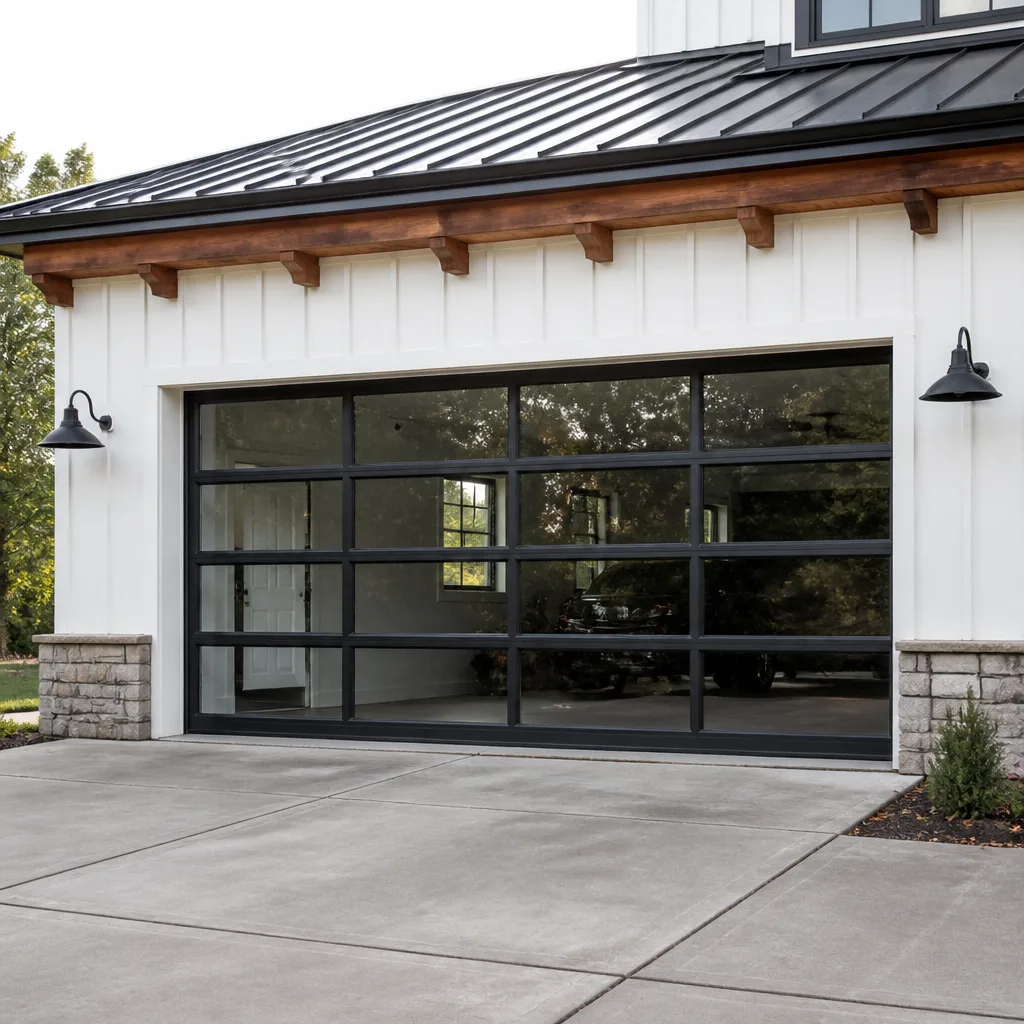 Full-view glass
 LiftMaster openers
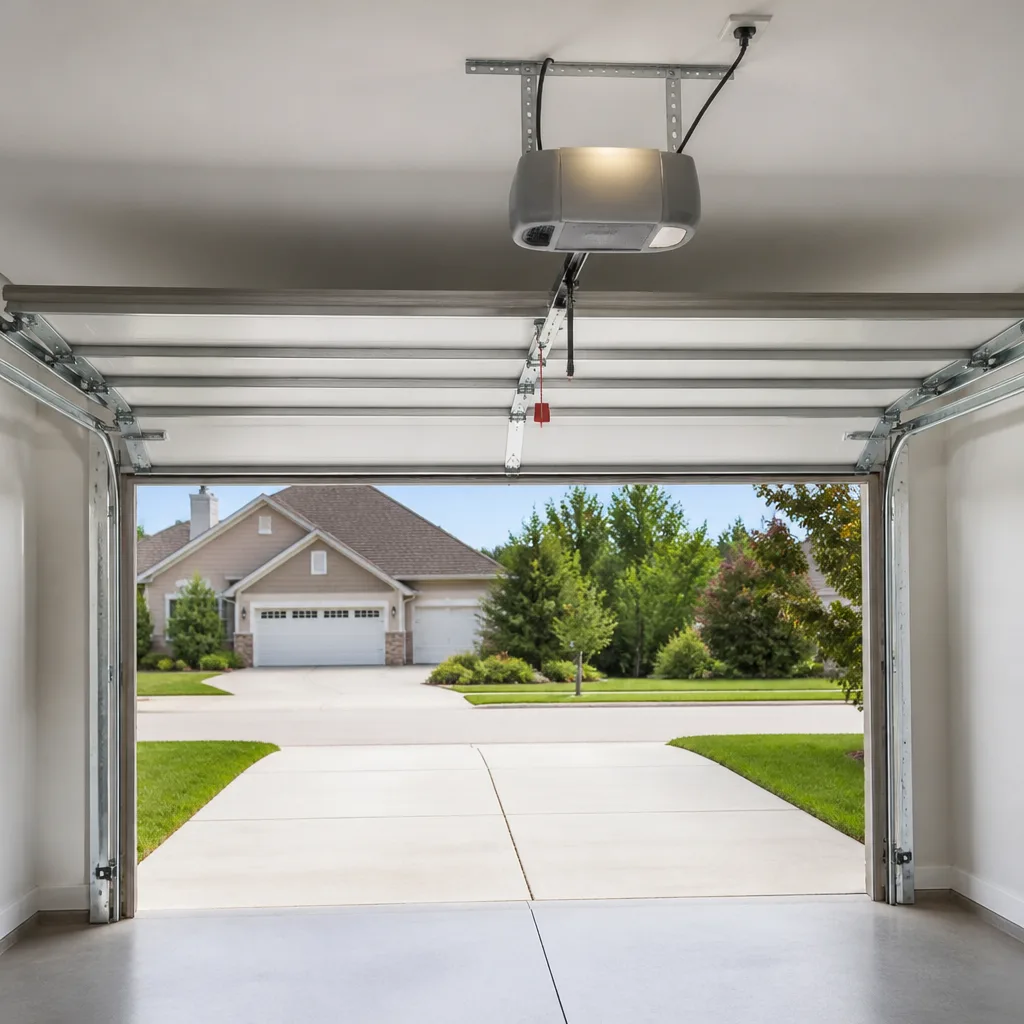 Chamberlain openers
Full 25-point door and opener safety check with every visit - springs, cables, rollers, tracks, and your LiftMaster or Chamberlain opener included
You get a price before we start. It does not change when the pro arrives.
Get your free estimateGarage Door Repair Maintenance Checklist for Atascocita Homeowners
Most garage door failures don’t announce themselves with a loud bang. They build up quietly over months – a little more noise, a slightly slower response, a bottom seal that starts letting in damp air – until something finally gives. By then you’re stuck with a door that won’t close and a car trapped inside. The checklist below isn’t organized by calendar month. It’s organized by risk, timed to the two periods when doors in Atascocita fail most often: the weeks after the first cold snap and the stretch right after tropical storm season. Work through it in that order and you’ll catch the small problems before they turn into a call at an inconvenient hour.
Quick Answer
A garage door maintenance checklist for Atascocita should focus on the two failure windows that matter here: the first cold snap of winter (when metal contracts and older springs are most likely to break) and the aftermath of tropical storms (when wind-driven rain works its way into tracks, hinges, and seals). Check springs, cables, rollers, tracks, and the bottom seal after each of those periods. Handle lubrication, visual inspection, and balance testing yourself; leave spring replacement and anything involving high tension to a trained technician.
Styles & brands we work with
- Raised-panel steel
- Carriage house
- Modern flush
- Full-view glass
- LiftMaster openers
- Chamberlain openers
Table of Contents
- Why an Atascocita Checklist Looks Different
- Checklist 1: The First Cold Snap of the Season
- Checklist 2: Post-Storm Inspection for Wind-Driven Rain
- Lubrication on a High-Humidity Schedule
- How to Test Spring Tension Safely
- Weatherstrip and Bottom Seal Checks for Seasonal Swings
- Safety Reverse Test and Opener Diagnostics
- Go/No-Go: What You Handle vs. What Needs a Technician
Why an Atascocita Checklist Looks Different
Garage door maintenance advice you find online is usually written for a temperate climate with four distinct seasons and moderate humidity. Atascocita doesn’t work that way. Our winters are mild enough that frost and freeze damage aren’t factors, but they’re still cold enough that a sudden temperature drop can stress a spring that’s already near the end of its life. Summers are long, humid, and punctuated by tropical systems that push rain sideways into places a door was never designed to shed it from.
That combination changes the schedule. A homeowner in a drier climate might get away with an annual oiling and a visual check every six months. In Atascocita, the humidity alone means metal parts that go dry will start to bind faster, and the storm season means you need to inspect seals and tracks more often than a generic checklist suggests. Add the seasonal swing – hot, sticky summers followed by that first genuinely cool morning in late fall or early winter – and you get two distinct high-risk windows each year.
In our experience, the doors that fail during those windows are almost always doors that skipped a check. The homeowner noticed a noise, a vibration, or a gap in the weatherstrip and filed it away as something to deal with later. Then the temperature changes, the tolerances shift, and a component that was marginal suddenly isn’t holding anymore.
This checklist is built to be worked in order, starting with the highest-risk period. If you’re reading it in late fall, start with the cold snap section. If a tropical system just came through, skip ahead to the post-storm steps. Either way, the goal is the same: catch the warning signs while they’re still signs.
Checklist 1: The First Cold Snap of the Season
The first real cold front of the year is the single most common trigger for garage door failures in Atascocita. Cold makes metal contract, and a torsion spring that’s been slowly losing tension through the summer suddenly finds itself handling more stress than it can take. The morning after a cold front is when a lot of doors simply don’t open.
Work through this sequence in the week leading up to or just after that first cold snap:
- Run the door through a full open and close cycle. Watch and listen. Any grinding, squealing, or slowing indicates friction that cold weather will make worse.
- Look at both springs above the door. A torsion spring should be intact from end to end. Any visible gap in the coil means it has broken. Extension springs (mounted along the horizontal tracks on older doors) should have safety cables running through them.
- Check the cables on each side. They should be taut and centered on the drums. Fraying, kinks, or slack are red flags you don’t want to ignore before the cold stress arrives.
- Test the balance of the door. With the door closed, pull the opener’s release cord, lift the door halfway, and let go. A well-balanced door stays put. One that drifts down fast is under-supported and needs a technician.
- Listen for opener strain. A chain or belt that hesitates or a motor that sounds labored in cold weather usually points to a balance or lubrication issue, not the opener itself.
Every item above is a go/no-go checkpoint. Running the door, listening, and testing balance: you can handle those. Spotting a broken spring or a frayed cable: stop there. That’s a technician job, and the next section explains why. Tightening down the checklist before the first cold snap is the difference between a normal winter and an emergency call, and it’s one of the most useful habits you can build as a homeowner in Atascocita.
Checklist 2: Post-Storm Inspection for Wind-Driven Rain
Tropical systems push rain horizontally, and a garage door is a large vertical surface with a lot of edges. Water that gets driven in around the perimeter doesn’t always show up as a puddle. Often it works its way into the bottom seal, along the vertical tracks, and into the hinges – and that’s where the problems start showing a week or two later, not the day of the storm.
Do this inspection once the weather has cleared and the door is dry enough to work around safely:
- Check the bottom seal along its full width. Look for cracks, compression, and any spot where it pulls away from the door bottom. A seal with a damp gap is no longer sealing.
- Run your hand along both vertical tracks. Look for grit, sand, or debris the wind pushed in. Debris in the tracks is a common reason a door jumps a roller after a storm.
- Open the door and look at the hinges. Rust starting at the pivot points is common after wind-driven rain. It’s usually cosmetic at first, but it tightens the joint and adds friction over time.
- Check the weatherstrip around the door’s perimeter. Any section that’s cracked, curled, or separated from the frame should be replaced rather than patched.
- Look at the threshold area and floor. Water intrusion at the corners where the door meets the floor is a sign the bottom seal has failed, and it should be fixed before the next storm.
- Test the door’s full cycle. If it binds, reverses, or hesitates, one of the storm’s effects – debris, moisture, a roller out of place – is already causing a problem.
Most of this is inspection and light cleanup you can do yourself. Replacing the bottom seal is often a homeowner job for someone comfortable with the process, though a door that’s out of balance or too heavy to lift safely should be handled by a technician. If the storm revealed a more serious problem – a bent track, a panel that took a hit from debris – that’s when a garage door repair call makes sense. Siding, trim, and the frame of the garage opening are worth a look too; small gaps there can let wind-driven water reach the door mechanism.
Lubrication on a High-Humidity Schedule
A standard annual lubrication schedule was written for a climate where humidity isn’t a factor most of the year. In Atascocita, humidity is a factor most of the year. Metal that dries out and runs without lubrication doesn’t just get noisy – it accelerates wear on rollers, hinges, and the opener’s moving parts. Waiting a full twelve months between oilings leaves too much of that wear unaddressed.
A workable schedule for this climate:
- Every three months, at minimum. Apply a garage-door-specific lubricant to the rollers, hinges, and the pivot points on the springs (the pivot, never the coil). Skip the tracks themselves – a dry, clean track works better than a greased one and won’t collect grit.
- After any tropical storm system. If wind-driven rain reached the moving parts, lubricate once things are dry. Moisture sitting on ungreased metal is where rust starts.
- When the door starts making noise again. A door that was quiet after lubrication and has gotten loud again is telling you the interval needs to be shorter. Listen to it.
- Before the first cold snap. Cold weather tightens the tolerances on every moving part. Getting lubricant on the rollers and hinges before the temperature drops keeps the door running smoothly through the cold weeks.
Use a product made for garage doors, not a general-purpose household oil. White lithium or a silicone-based garage door lubricant is the right category, applied sparingly. Too much lubricant attracts dust and grit, which is worse than a slightly dry part. Keep the tracks clean and dry and the moving joints lightly oiled, and you’ll get years more out of the same set of rollers.
Go/no-go: lubrication is a homeowner task. If you hear grinding even after lubricating, or the door is noticeably harder to lift than it used to be, the problem is deeper than lubrication and belongs in front of a technician.
How to Test Spring Tension Safely
Springs are the most dangerous part of any garage door system. A torsion spring stores enormous tension, and if it releases suddenly it can cause serious injury. That’s why nobody should attempt to adjust or replace a spring without proper training and tools. But you can still assess spring health safely, without tools, and know when to call for garage door spring repair.
The test is simple: the balance test. Close the door, pull the opener’s release cord to disconnect the opener from the door, then lift the door with your hand to about waist height and let go.
- Door stays where you put it: springs are doing their job and tension balance is healthy for now.
- Door drifts down slowly on its own: the springs are losing tension and the door is under-supported. That’s a sign of wear, and it typically gets worse, not better.
- Door slams down or won’t stay up at all: the springs have likely failed or are close to it. Do not keep cycling the door. Call a technician.
- Door feels very heavy to lift: the springs are doing little to none of the work. Same conclusion – call.
What the results tell you about remaining spring life is less about a specific number and more about trend. A door that passed the balance test last year and fails it this year is on its way out. A door that stays put at waist height but has developed a rhythmic clunk at a specific point in the cycle may have a spring that’s still intact but losing tension unevenly.
What you should not do: inspect the coils by hand, try to tighten the torsion bar, or spray anything on the spring coil itself. The springs and cables are a professional-only zone. If the balance test fails, or you see any gap in a torsion spring coil, or you notice a cable that’s come off its drum, put the door down and call. In our experience, the homeowner who calls at that point gets a straightforward repair. The one who tries to work around it ends up with a bigger repair or an injury.
Weatherstrip and Bottom Seal Checks for Seasonal Swings
Atascocita’s temperature swings put real stress on every flexible component on the door. A bottom seal or perimeter weatherstrip has to hold up through hot, humid summers and cool, damp winters, and it takes the brunt of every storm that brings rain sideways. Checking it on a generic spring-and-fall schedule misses the two transitions that matter most here: the move from summer humidity into the first cool, dry days of late fall, and the move back out of winter into the hot, wet season.
Do these checks at each transition:
- Bottom seal: Look for cracks, tearing, or a section that no longer touches the floor when the door is closed. A seal with a visible gap is letting in water, insects, and outside air.
- Perimeter weatherstrip: Run your finger along the inside of the door frame. Any spot where the weatherstrip has stiffened, curled, or pulled away from the frame is ready for replacement.
- Corner seals: The bottom corners take the most water. Check that the seal still reaches into the corner without a gap.
- Head seal (if present): The top of the door frame often gets skipped. Press it gently; it should spring back and sit flush against the door.
- Threshold: Where the door meets the floor, check for water marks that suggest previous intrusion. A dark or damp streak along the inside floor line is a sign the seal is no longer doing its job.
Replacing a bottom seal is a job many homeowners can handle with a replacement seal sized for their door. Perimeter weatherstrip is usually a similar level of DIY, though getting the corners right takes patience. What isn’t a homeowner job: a door that won’t seal because it’s out of balance, a bent track, or a panel that’s warped. Those produce gaps that a new seal won’t fix. If a new seal doesn’t leave the door fully flush, the underlying problem is the door’s alignment, and it’s worth having a technician take a look. Small leaks around an Atascocita garage door aren’t just an inconvenience – they let in the humidity that shortens the life of the whole system.
Safety Reverse Test and Opener Diagnostics
The safety reverse system is the part of your garage door that stops it from closing on a person, pet, or object in its path. It’s also the part most likely to fail quietly and go unnoticed. Testing it is fast, and doing it every few months is one of the highest-value checks on this list.
Here’s the sequence:
- Test the photo-eye (if your opener has one). With the door open, pass a foot or a broom handle through the beam between the two sensors at the corners of the door opening. The door should refuse to close.
- Test the pressure reversal. Lay a small object – a roll of paper towels works well – on the floor in the door’s path and close the door. It should reverse on contact. A door that presses the object instead of reversing needs adjustment.
- Test the manual release. Pull the release cord with the door closed and confirm the door disconnects from the opener smoothly. Re-engage it and cycle the door to be sure it’s back on the carriage.
- Check the wall control. The button should open and close the door and any safety-lock function should work. A wall control that’s behaving unpredictably sometimes points to a wiring issue, sometimes to the opener itself.
If your opener is a LiftMaster or Chamberlain unit with myQ, or a Genie system with Aladdin Connect, run a quick check that the app still reports door status accurately and that the safety reverse function isn’t being overridden by a stuck smart-home command. Smart integration is useful until it isn’t – a door that opens on a scheduled timer while you’re away is not the feature you want. When the reverse test fails, the door should not be used until it’s fixed. That’s a same-day call for garage door opener repair, not a next-week appointment. Older Craftsman and Wayne Dalton openers have their own adjustment procedures, and a technician familiar with the specific model will get it right the first time.
Go/No-Go: What You Handle vs. What Needs a Technician
The most useful skill in garage door maintenance is knowing where the homeowner’s responsibility ends. A checklist is only effective if it makes that line clear. Here’s the split:
You can handle these
- Lubrication: rollers, hinges, and pivot points, every three months and after storms.
- Visual inspection: springs, cables, tracks, seals, and hinges – looking, not touching under tension.
- Balance test: the release-cord method, no tools required.
- Safety reverse test: photo-eye and pressure reversal.
- Cleaning tracks: wiping down the vertical and horizontal tracks with a dry cloth.
- Replacing a bottom seal or perimeter weatherstrip: if the door is otherwise healthy and you’re comfortable with the process.
- Clearing debris: sand, grit, and small debris from the track after a storm.
A technician should handle these
- Any spring work at all: adjustment, replacement, and inspection beyond looking from a distance.
- Cable work: any cable that’s slack, off its drum, or frayed.
- Track realignment: a bent or out-of-plumb track, or a door that’s jumped a roller.
- Opener adjustments: limit switches, force settings, and reverse sensitivity.
- Panel or section damage: dents, cracks, and any damage that affects how the door seals.
- Balance problems that fail the test: when the door won’t stay at waist height, that’s not something to work around.
- Any door that’s under 40 pounds of resistance or refuses to stay closed at the bottom – this usually points to a spring or balance issue.
Every one of the technician-only items is a “stop here” moment. Not a “call next week” moment. The order matters: springs and cables first, tracks and rollers second, seals and openers third. That’s the sequence the risk actually runs in, and it’s the sequence we recommend to homeowners in Atascocita.
Common Mistakes to Avoid
- Skipping the cold-snap check because the door was fine all summer. A spring that’s been slowly losing tension through the heat doesn’t show a problem until the metal contracts. By then, it’s usually past the point of a simple adjustment.
- Greasing the tracks. It feels like a good idea, but lubricant on the tracks collects grit and makes the problem worse. Dry tracks, lightly oiled moving parts – that’s the rule.
- Waiting until after the second storm to inspect. Wind-driven rain around Atascocita garages does the most damage in the first week after a system passes. By the time you notice rust or a damp bottom seal, the problem has had time to dig in.
- Treating the annual lubrication schedule as sufficient. For a high-humidity climate, once a year is too sparse. Three-month intervals are closer to what the door actually needs.
- Testing springs by hand. The balance test tells you what you need to know. Poking at a spring coil, trying to turn a torsion bar, or checking tension with a wrench are what gets homeowners hurt.
- Ignoring a bottom seal gap because the garage “isn’t a living space.” A failed seal lets in water, insects, and outside air. It also lets humidity reach the door’s moving parts, which is where long-term wear starts.
- Assuming a failing safety reverse system is fine to use for “just a few more days.” It’s the safety feature. It doesn’t get a grace period.
See the difference
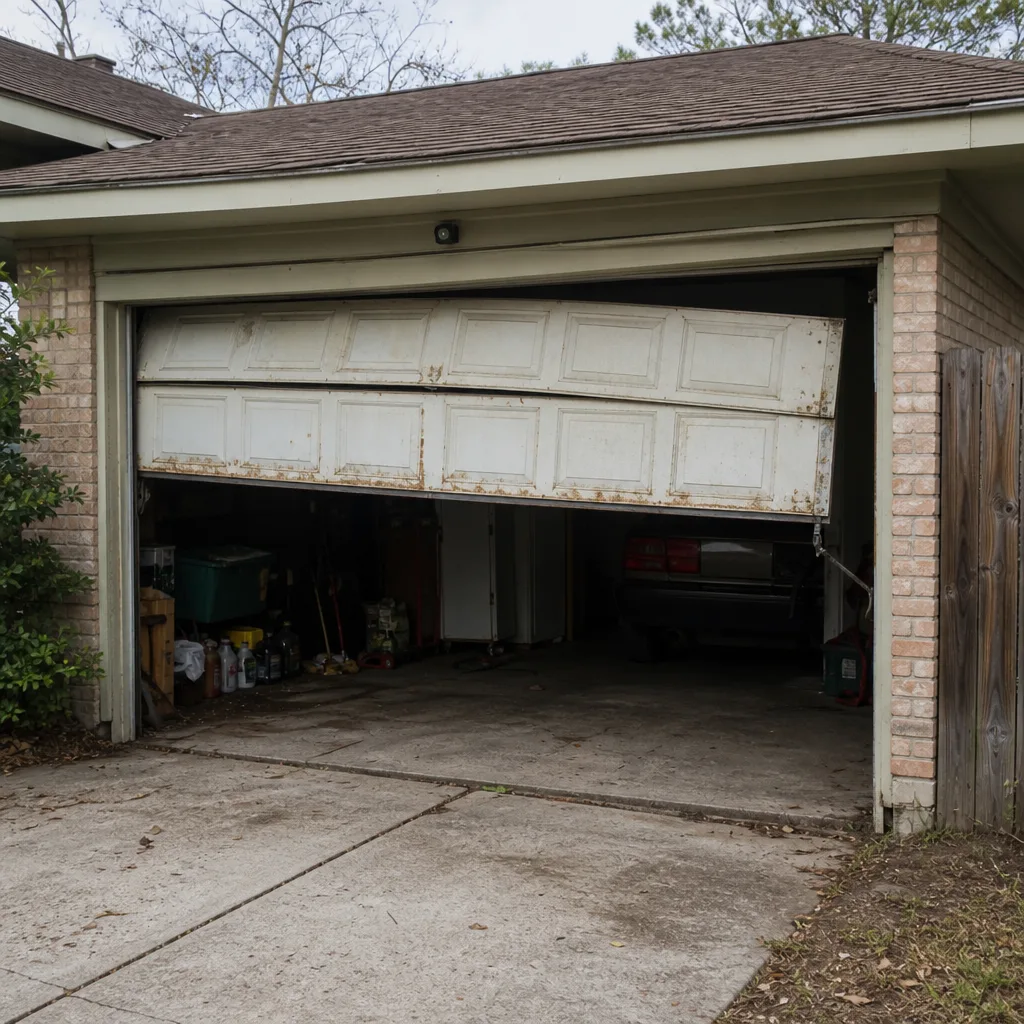 Before
 After
 Before
 After
 Before
 After
When to Call a Professional
Call a professional the moment you find any of the following: a gap in a torsion spring coil, a cable that’s come off or gone slack, a balance test failure, a door that jumps a roller or comes off its tracks, a safety reverse failure that survives a battery change and a sensor wipe-down, or opener behavior that isn’t explained by a fresh set of batteries in the remote. If a storm left visible damage, an unexpected noise, or a door that won’t cycle correctly, that’s a call too. Also call if you’re simply not sure.
Springs store enormous tension, and cables under load are dangerous in a way that’s not obvious until something fails. This isn’t a place to guess. Atascocita Garage Door Repair Pros offers free estimates in Atascocita – call (844) 493-5692. Our technicians have up to 9 years of experience and work on eight of the industry’s major brands, including LiftMaster, Chamberlain, Genie, Clopay, Amarr, Wayne Dalton, Craftsman, and Raynor. Emergency service is a real offering, not just a phone number, and we can get a door back up and running the same day it fails.
Frequently Asked Questions
At least every three months for lubrication, plus a full inspection right after the first cold snap of the season and again after any tropical storm system passes. The spring balance test and safety reverse test should be done roughly every other month. This is a shorter interval than a generic annual schedule because Atascocita’s humidity and seasonal swings put more wear on the system than a temperate climate does.
Cold weather makes metal contract, and a torsion spring that’s already near the end of its life can fail when the temperature drops. The first genuinely cold morning of the season is when a lot of doors simply don’t open. That’s why the cold snap check belongs at the front of this list, not somewhere in the middle.
No. Torsion and extension springs store enormous tension, and a sudden release can cause serious injury. There’s no safe way to do this without professional training and the right tools. The safe homeowner test is the balance test – if the door won’t stay at waist height when released, call a technician for spring repair.
Check the bottom seal, the vertical tracks, the hinges, and the perimeter weatherstrip for water intrusion, and clear any debris that the wind pushed in. Then run the door through a full cycle and listen for binding or unusual noise. If the door jumps, reverses unexpectedly, or feels harder to lift than before, it needs a technician.
The most likely cause is that the opener has become disconnected from the door – usually because the manual release was pulled, or the carriage has come loose. Check the release cord and the door carriage first. If they’re engaged and the opener still runs without moving the door, the issue is inside the opener or in the drive mechanism. That’s a call for garage door opener repair, and it’s often fixable the same day.
When the balance test fails, when you see a gap in a torsion spring coil, when the door jumps a roller, or when the safety reverse test fails after basic troubleshooting. Those are all signs the door is past maintenance and into repair territory. If the door is off its tracks, or a spring has visibly broken, stop using it until a technician has been out. Estimates are free, and a call to (844) 493-5692 will get you a clear answer on what’s needed.
The Bottom Line
A good maintenance checklist is timed to actual risk, not printed calendar reminders. In Atascocita, the two periods that matter most are the first cold snap of winter and the weeks after tropical storm season. Work the checklist in that order: springs and cables first, tracks and rollers second, seals and openers third. Handle lubrication, visual inspection, and the balance test yourself. Leave anything involving high tension to a technician. And when a check fails, don’t push it off – a door that fails a balance test today is the door that fails completely on the next cold morning. Keep the schedule, keep the seals intact, and the door will keep working. Questions at any point, call Atascocita Garage Door Repair Pros at (844) 493-5692.
Written by the team at Atascocita Garage Door Repair Pros.